The preferred method of sharing what’s going on in your life has inarguably shifted from status updates to photos and videos. It’s how we communicate. That’s why it’s so important to learn how to take the perfect selfie.
Pro: A picture can be worth a thousand words.
Con: Always needing to be camera-ready!
You owe it to yourself to learn how to manage the image you put out there and, by virtue of having a smartphone in your pocket, you can easily learn to be your own best paparazzo.
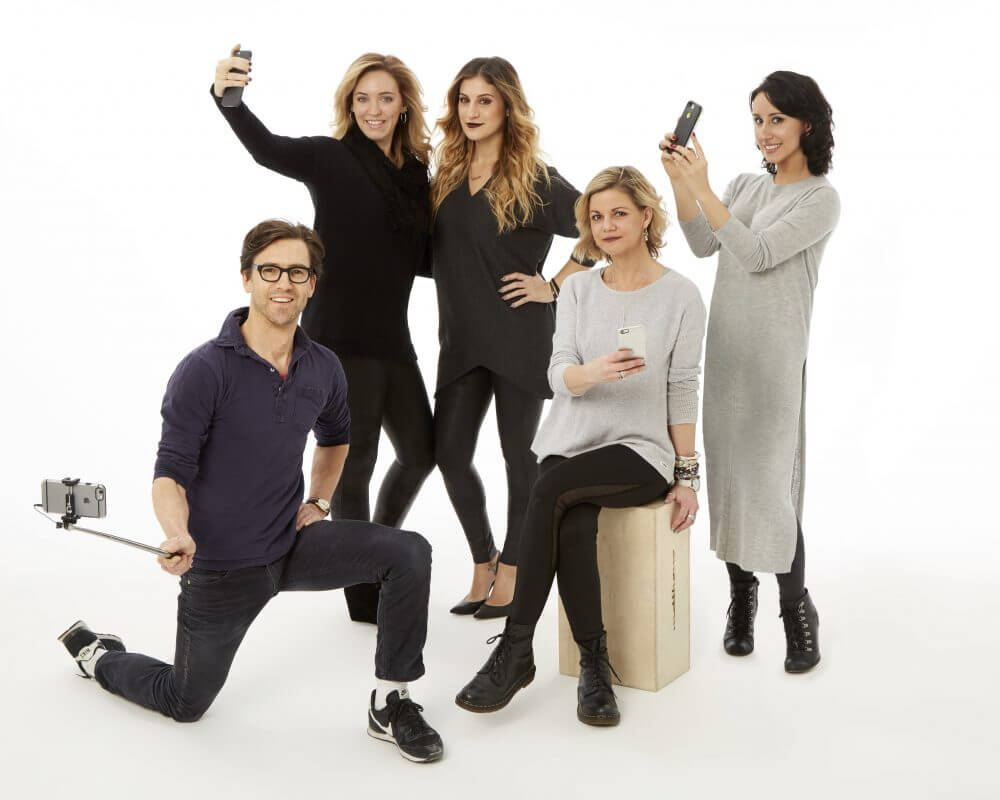
No one knows how to curate the living daylights out of an Instagram feed better than our photo studio crew. We lured them out from behind the lens to share all they know about taking amazing pictures and how to translate that into top-notch selfies. Here are their rules for how to take the perfect selfie:
1. APPLY MAKEUP WITH A HEAVIER HAND.
“In life, I love a bold eye with a natural lip or neutral eyes with a strong lip. For a photo, you can do both. Focus on your hair and makeup, since it can be hard to get your full outfit in a photo,” says Brittney Marciniak, photo stylist.
Photo editor/producer Nicole Riccio agrees. “On a daily basis, I don’t wear a lot of makeup, but if I’m going to an event I’ll do the works, including foundation. I always try to play up my favorite feature—my eyes—in photos.”
To senior designer Rita Manukyan, “it’s all about the sparkle in your eyes and a rosy glow on your cheeks.”
A word to the wise: “If you do nothing else, fill in your eyebrows,” advises sample coordinator Martha Dunning who “relies on my daughters to chime in and fix me up.”

2. GIVE WARDROBE A MOMENT’S CONSIDERATION.
“I prefer to wear solid colors and a statement piece of jewelry,” Rita says.
“And when wearing a lower-cut top or dress, use fashion tape for safety. You don’t want to reveal too much!”
3. SELFIE POSES: FIND YOUR ANGLE.

Our experts have different criteria for determining their best side for a selfie pose. “Straight on, I’m Tom Cruise. Side angle? I’m Woody Allen,” says photographer James Westman. Their takeaway is to experiment to find your own pose, then stick to it when possible. “After flipping through old photos, I became convinced that my left is my better side,” says Rita. “The angle at which I take a selfie usually depends on the lighting, but then it’s time to shine from within. I go to a happy place in my mind. Think about it: You’re looking at someone you really like!”
Brittney’s rule of thumb is this: “I’ve always heard that if you’re a righty, your left is going to be your better side and vice-versa, and that holds true as far as I can tell,” she says. (Of course, Nicole, who is right-handed, disagrees—she prefers the way her bangs fall on her right side. So, yes, grain of salt.)
“If you want to look thinner and make skin look smoother, you have to play around with the camera angle and see which pose you like best for yourself,” Nicole says.
“Let’s face it: we’ve all been in our bathrooms secretly trying to perfect the art of the selfie. Everyone has her own style,” says Martha. “I find that not shooting up toward my chin and avoiding my neck altogether works best for me. I’d rather take 101 shots and luxuriate in the after-edit.”
4. KEEP THE PHONE AT ARM’S LENGTH.
Everyone recommends holding the phone as far from the face as you can reach for a selfie photo. “That way, you have more background to play with when you crop,” says Brittney. Building on that, “I always make sure the phone is up a bit higher to make everyone look a little thinner, and I always look just above the shutter so my eyes look fully open,” Nicole advises.
5. GET THE BEST LIGHT POSSIBLE.

Soft, natural light is ideal, our staffers say, “but you definitely need to make sure you have enough balance between brightness and contrast so the image doesn’t look blown out,” (i.e. too light in the face) per Nicole.
And what happens when natural light isn’t an option?
“There is no flash option for selfie mode, and pictures taken at night often turn out dark and grainy—no amount of filtering would perfect it,” says Rita. “So when I discovered the Ty-Lite phone case, I quite literally saw the light. Beyoncé’s stylist, Ty Hunter, created it. It comes with three settings: cool, warm and brilliant. Now I’m guaranteed a healthy glow any time, in any environment. Well worth the $80,” says Rita.
6. SHOOT AGAINST SOLID BACKGROUNDS.

There’s a reason the photo studio team shoots just about everything against a white backdrop. “Busy scenes are distracting. I do believe less is more,” Brittney says. To that end, Rita adds: “Make sure background objects don’t appear to be sticking out of your head.”
Nicole also loves when the background in a selfie photo is blurred a little—that effect is called bokeh—so the focus is on the main subject of the image (in this case, you and your crew). You can use tile shift to achieve it in Instagram. Dark backdrops give dramatic effect but, depending on what you’re wearing, a light one can work just as well. And any bit of texture gives a photo depth, she says.
“I do best in my bathroom, in the daylight, windows open, with a sheer curtain behind me,” says Martha.
7. MAKE YOUR PHONE WORK HARDER FOR YOU.
Your phone’s camera acts as a wide-angle lens. Either shoot that way, or try the square setting for selfies, which frames a shot like Instagram to begin with. Martha uses her iPhone’s self-timer to get a full-length outfit shot, as her daughters have barred her from taking dressing room selfies.
8. CROP ARTFULLY.
“Cropping is everything,” James proclaims.
9. FIND YOUR FAVORITE FILTERS.
Our pros gravitate toward Hudson and X-Pro II on Instagram. “I try to keep it pretty true while adjusting lighting and contrast,” says Rita. For can’t-go-wrong effects without the luxury of a retoucher on speed dial, James recommends playing with exposure and saturation.
10. IF IN DOUBT, GO BLACK AND WHITE.
Interestingly, our photo team all loves black-and-white shots best. “My favorite photos are usually always in black and white. Everyone looks good with that kind of contrast,” says Brittney, whose go-to Instagram filter is Moon. Rita prefers Mono or Noir. “I use black and white to take 10…no, five…okay, two years off my complexion,” Martha says.
11. THERE’S A TIME AND A PLACE FOR A SELFIE STICK.

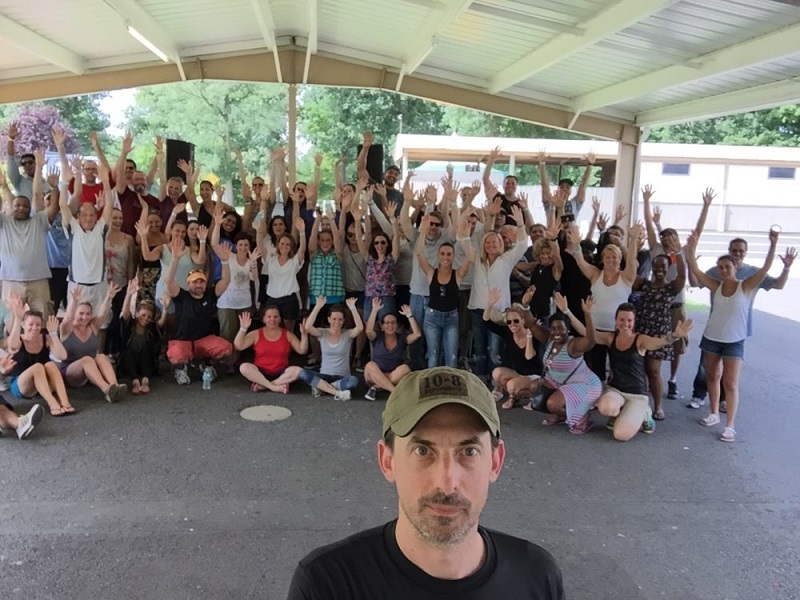
Everyone is categorically against them…until it comes to group or overhead crowd shots. “I turn to my selfie stick for help with capturing a complete picture of all the rad moments, from outfit to scenery, when I’m outdoors or traveling,” Rita says.
“I used to hate selfie sticks until the day I went to a football game. A bunch of us wanted to take a picture, and my boyfriend’s cousin brought one out. In that moment, I fell in love with them because we didn’t have to approach some random person and ask him to take our picture. She was able to get all of us in the shot and you could barely see her arm, so it looked like someone else took the picture for us. And if it had come out badly, we could have retaken as many as we wanted without inconveniencing a stranger,” says Nicole who promptly went out and bought one, complete with a flash. “As long as you can take a selfie with the stick without being obvious, I say use it all you want.”
12. THERE’S NO LAW AGAINST USING EDITING APPS.
You can take and tweak selfie photos before sharing them using just-about professional level applications like Afterlight, CrossProcess, Camera+ or VSCO Cam.
“I honestly believe no one needs retouching in real life. Selfies don’t show that much detail,” says Nicole. “If you really want to look your best, though, and you’re going to nitpick yourself, I suggest making sure hair has no flyaways—those can really make a picture look bad—and that you don’t have dark under-eye circles or noticeable wrinkles in your clothes. Once you feel comfortable with the way you look, every image will be flawless.”
13. THERE ARE SPECIAL CONSIDERATIONS WHEN IT COMES TO SELFIE VIDEOS.
“Background noise levels become important. And you certainly don’t want anything inappropriate being said while you’re filming,” says Brittney. A practice run is always a good idea.
14. THE MOST IMPORTANT RULE IS…
At the end of the day, says Martha, make it fun: “Enough said. You can always edit it later.”

